Dulcimer!
Warning:
This is a picture heavy post!!
So, it's been nearly 3 months since my last post, so there is a lot to catch up on!
Here are the progress photographs for my dulcimer building class over the past semester since we last spoke...
 Gluing the sides to the blocks and base...
 various clamps were used
 ...as well as aluminum braces, to keep the sides square (a 90º angle! :)
 drying and cleanup
 Crazy German instrument making clamps
 After this point the class fell out of sync with each other,
and everyone progressed at their own pace
This is a picture heavy post!!
So, it's been nearly 3 months since my last post, so there is a lot to catch up on!
Here are the progress photographs for my dulcimer building class over the past semester since we last spoke...


and everyone progressed at their own pace

Here's a quick image of the fingerboard with the strum hollow already cut out.

Crazy instrument measuring/scoring tool, which was used to mark the area I would need to mortise out for the tuning pegs.

various views

various views

various views

Triangulating the points were I would need to drill for the tuning peg holes.

Another clamping technique (this is another students dulcimer)

Now this I found fascinating -- Here is an apparantly ancient (as in way way back almost to stone-age times) way of clamping two boards together, lengthwise, so that they are glued together both straight and level...
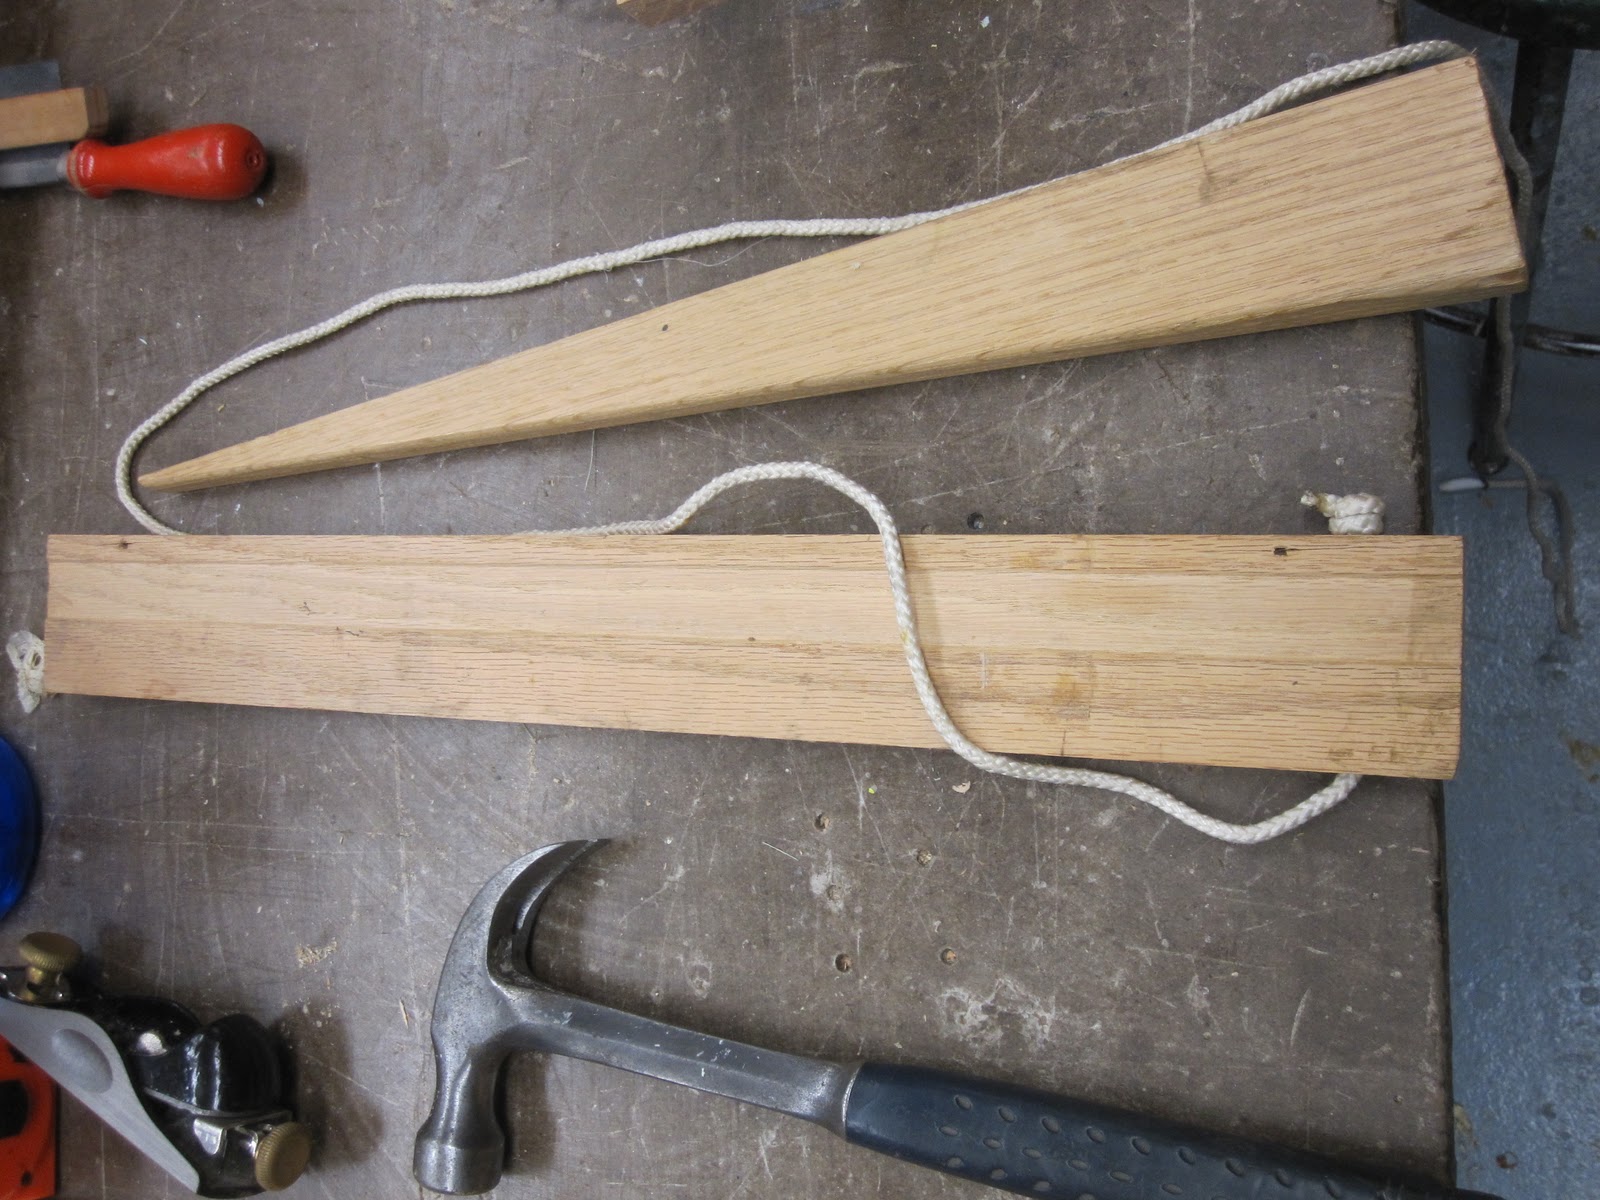
...and all it is is a wedge, block, and a rope... genius!

Various tools: Japanese saw, narrow kerf saw (with guide), various planes, and a chisel.

The 2 sides of the top of my dulcimer glued and clamped.

More planes.

This is a special jig that the instructor set up for planing the narrow sides of the 2 halves of the top.

Another plane.


A close-up view of the mortised out area for the tuning pegs, sanded; the scalloped edges are so the strings wont wear down prematurely.

Expanded view... sanded.

By this point, the frets have been positioned and installed.

My hammer, some sanding blocks, and my water bottle.

For various stages of this project, I used up to 600 grit sand-paper...

Rough cut-out of the top, sanding.

Expanded view of the various un-assembled pieces.


and then mirror the design on the OTHER side with inlays.

In progress... rough assembly.

Test fitting the inlays.

This one part was probably the most labor intensive element of the whole process... a lot of sanding, filing, fitting, filing, breaking, trying again... etc... took about 5 hours of total work.

Another view.
 Not exactly perfect... but pretty close!!
 Don't look to close! ;)
 Another.
 The overall design.
 Pre-sanding.
 Rough-up.
 Area for the nut chiseled out.
 Positioning and fitting of the bridge and saddle.
 Positioning, cutting, and filing of the string grooves in the saddle.
 A simple but elegant design for the head.
 Gluing the fingerboard to the top!
 Assorted views.
 Assorted views.
 I think it's going to look good!
 almost ready for final assembly!!
Unfortunately, I missed a couple of weeks of progress, as my camera battery died one week, and I forgot my camera entirely the next. Nevertheless, there is still one more week yet of class, so final build pics will be forthcoming.


Unfortunately, I missed a couple of weeks of progress, as my camera battery died one week, and I forgot my camera entirely the next. Nevertheless, there is still one more week yet of class, so final build pics will be forthcoming.

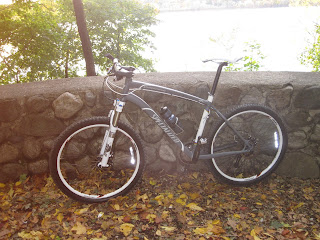
Hey, good for you!I wondered why I wasn't seeing your entries on the local-to-you bike blogs!
ReplyDeleteThis stuff is addictive. case-in-point; I started out an illustrator, now I am a mostly-full-time luthier.
CK
Thank you Corey!
ReplyDeleteI have been posting, though more sporadically than normally; the semester plus work has not left me with a lot of time -- this is, of course, not a bad thing... just a busy thing ;)
I have a fair amount of woodworking experience in my past, and I was itching to explore this further -- but this is certainly the first foray into any form of instrument making! I am considering taking the next segment of the class where we can build a guitar or a lute...
Do you have your work on the net, anywhere?
Thanks again!
You're welcome!
ReplyDeleteSee some in-progress work here-
http://www.flickr.com/photos/77617662@N00/sets/72157623999382171/
I need to update to show the binding process and the headstock and neck inlay and shaping.
It's going to be turned into a finished guitar very soon.
And here is a custom finish job for a dear friend in Texas-
http://www.bovinehost.com/currentbasses/ric/jackobacker.html
How's the dulcimer coming?
CK